Week 12: Presentation
- Stevie Tewfik
- May 6
- 3 min read

Now that all of my modelling, texturing and lighting has finally been set up, it was time to move on to my presentation...
The first thing that would, on the fly, allow me to control the "look" of the level was adding a post process volume. This is quite self-explanatory, as it's a volume with a bunch of post processing features that you can manipulate, which will only take effect when the camera is within said volume.
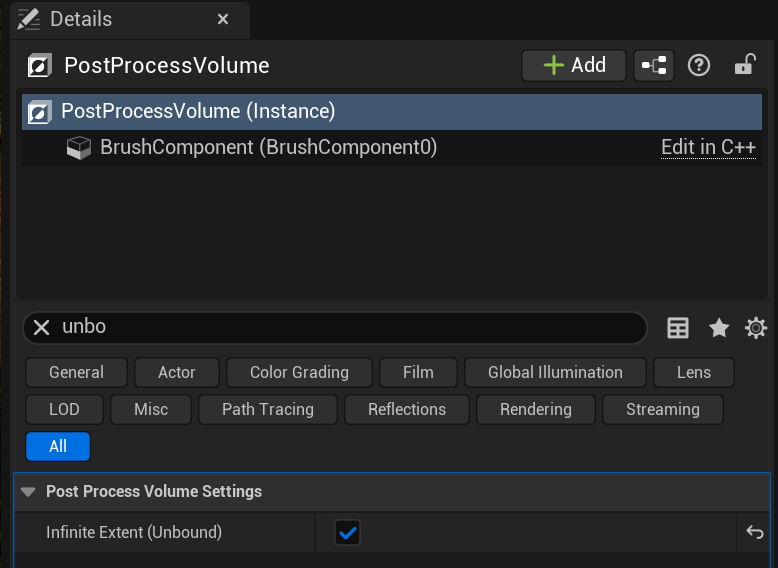
Whilst some people may want their effects to be different for different sections of a game, this was a dungeon-crawler themed level, so I made the effects synonymous across the scene. This was possible due to the "infinite extent" value in the post process volume's settings, meaning it stretches on forever, across all areas of a project.
The main use of post process volumes for me was the vibrancy, colour correction, and lighting tweaks that it was capable of. First up was "bloom"

Editing the value will control how much light spill there is, and the good thing about post process volumes is that they are designed to be "in-camera" effects only, so this feature isn't actually changing how my point light behaves.
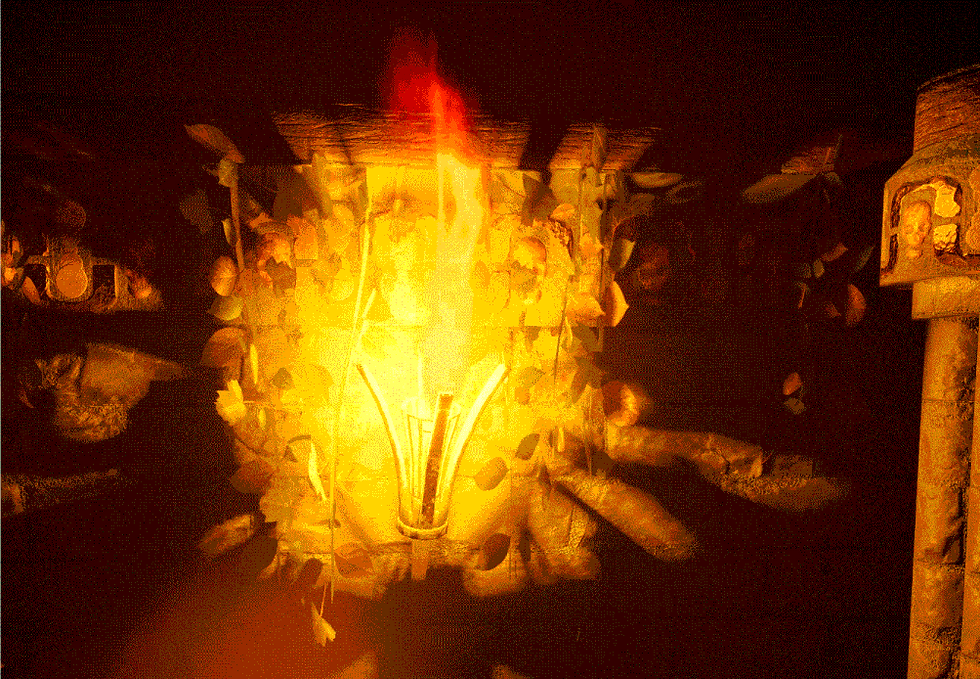
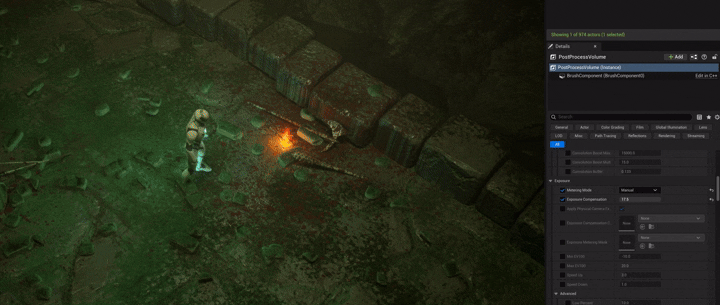
The next property was exposure, which determines how much light is let into the camera, higher exposure = brighter. You can also change the metering mode, so instead of auto-exposure you can change it manually, which helped me a lot, flashbang warning...
Another effect is lens flares, which are a subtle addition, but are quite obvious when you see a scene without them.

My scene also felt "cold" considering how many torches populated the walls. Luckily, I could make use of the "temperature" setting under colour grading, which let me add a much warmer overlay to the scene, crushing a lot of the blues and cool colours.

Now that my scene "looked" how I wanted it, I had to set it up for rendering out a cinematic. Upon following a video created by Falmouth University, I quickly learnt how to use the video sequencer feature.
I was able to set up a cinematic viewport, choosing custom camera capture settings.

I wanted this to be "cinematic", so setting up a 42mm lens with a much wider sensor width compared to its height allowed me to have an "ultrawide" viewport whilst not having a distorted image.

I worked through each section of my level, highlighting different assets, lighting techniques and POIs (points of interest) in a visual way. I created multiple establishing shots, and ended some shots by changing the focal depth and aperture settings to redirect the viewer's focus (my photography degree coming in useful for the first time).

I then cut these shots together, in a "master sequencer" where I was able to import the clips (which were all taken with different in-game cameras) into the same timeline. Once I was happy with the "flow" of the video, I chose my render settings.
Considering this is one of the main presentations for my project, I went all out. 60 frames per second, at ultrawide 4k, giving me a fluid crisp image. I also made sure compression was on, as otherwise the final cut would've easily reached 20GB.

As a sneak peek, this is my favourite shot of the video, as it honours the dynamic of my statue, and of course, highlights my graded asset.

Bibliography/ External Reading:
_______________
University, Falmouth . “Panopto.” Panopto, 2021, falmouth.cloud.panopto.eu/Panopto/Pages/Viewer.aspx?id=d9e3cd3f-7b8f-4874-81e5-b09200b4bc93.


Comments