Week 13: Clinic and Submission
- Stevie Tewfik
- May 8
- 3 min read

This week was it, the last week for getting everything ready to hand in. I went through my project, in a similar way to my video sequence, setting up shots which I thought best showed off my level.
I managed to compile 10 shots in total (using the high-resolution screenshot feature) which I was pleased with. I feel they convey the visual storytelling that I aimed to address, and do a particularly good job at showcasing the parts of my level I put the most attention into.

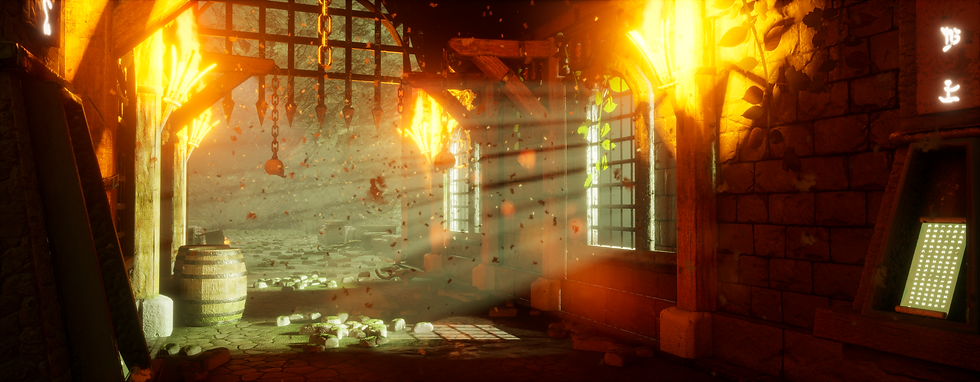
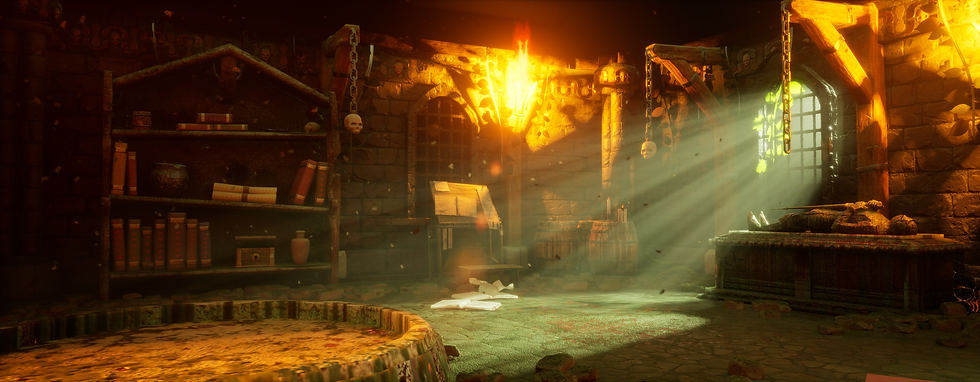
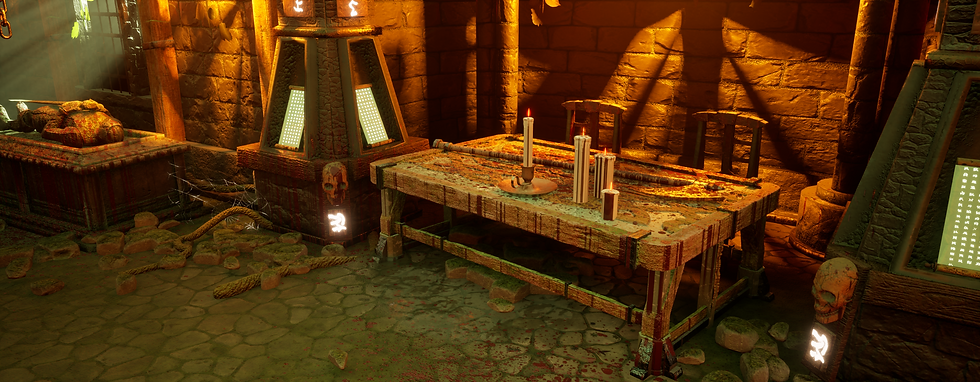
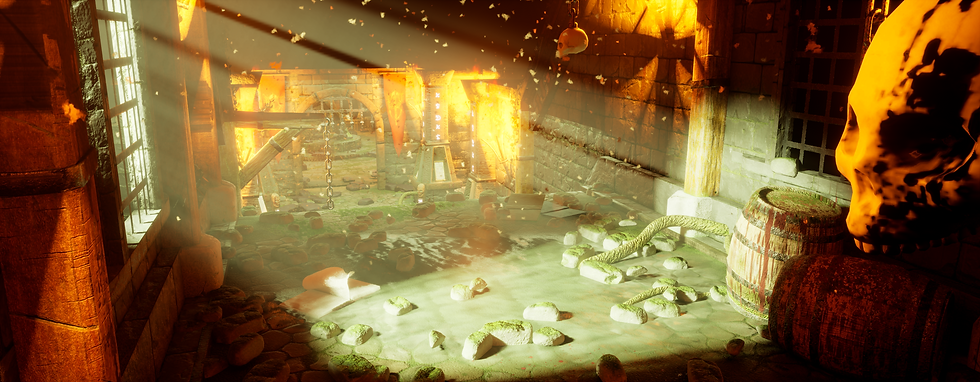
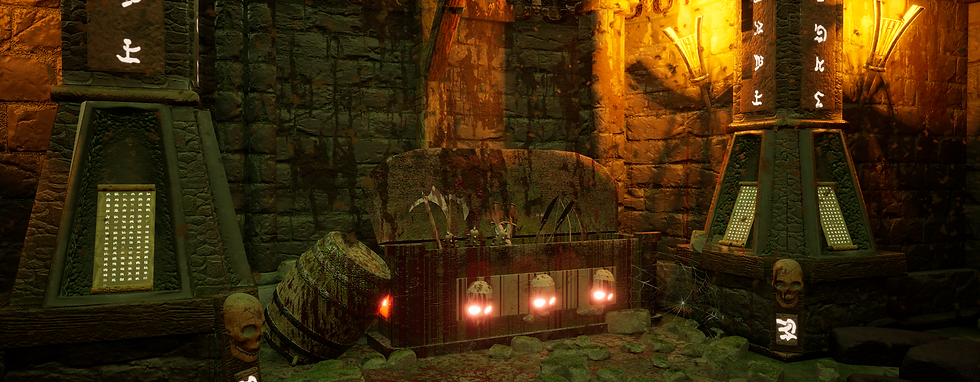


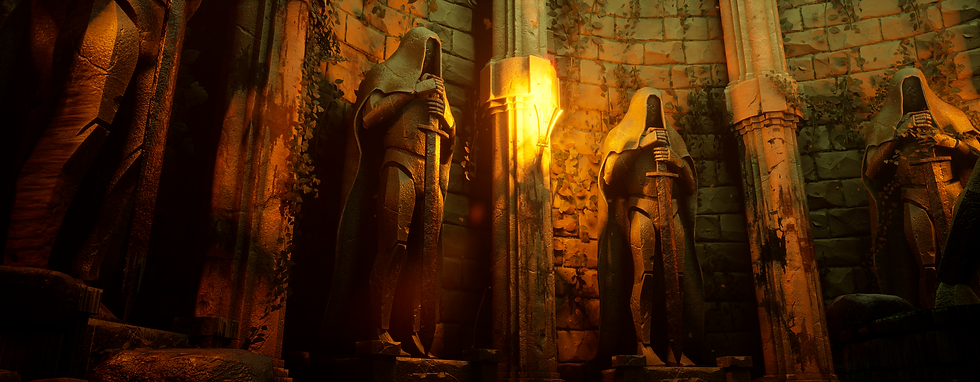
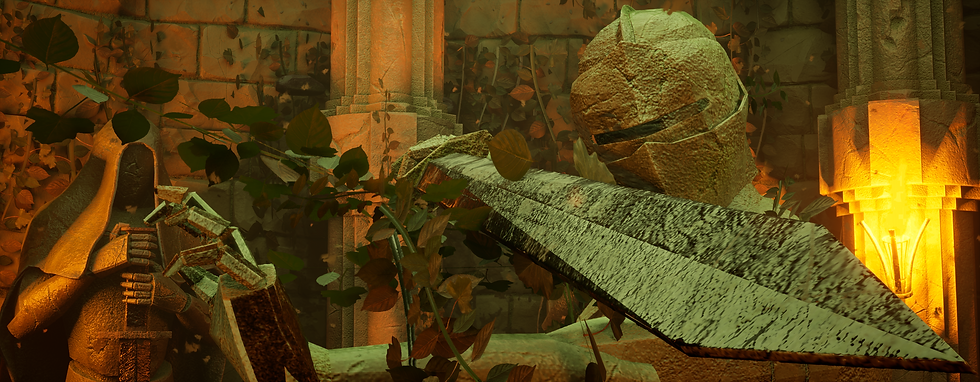
After I had captured all of these, I moved on to showing the behind-the-scenes. Again, using high-resolution screenshots, I imported in a simple backdrop model I made in Maya, and extracted my "modular" pieces, and arranged them for renders.
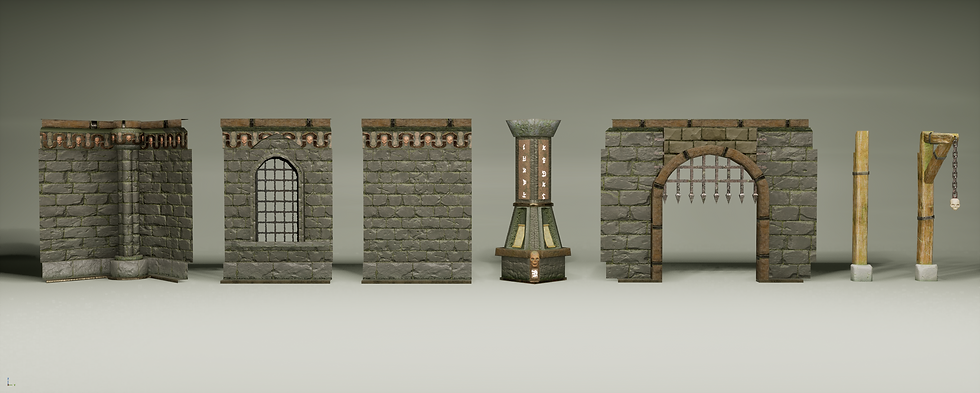
Additionally, I took "AO" (or detailed lighting) renders of each of my modular kits.
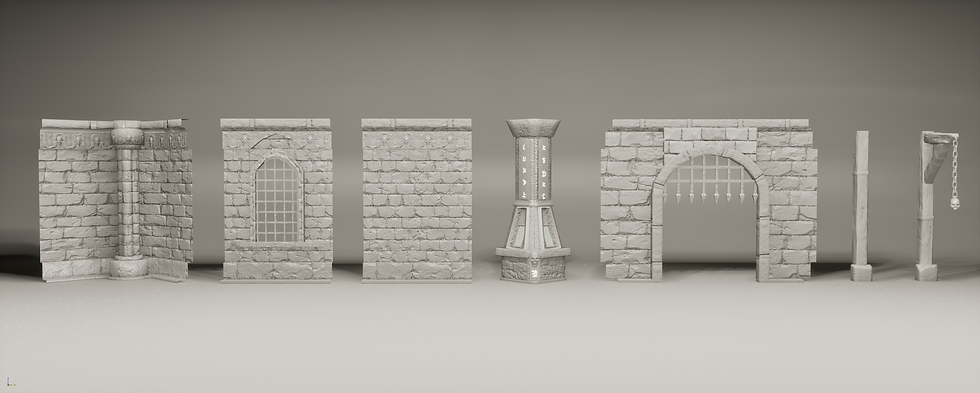
I wanted to capture all of what made my level, my level. So, expanding upon my modular kit, I added all of my props and major assets which had been dotted around the corridors and rooms.
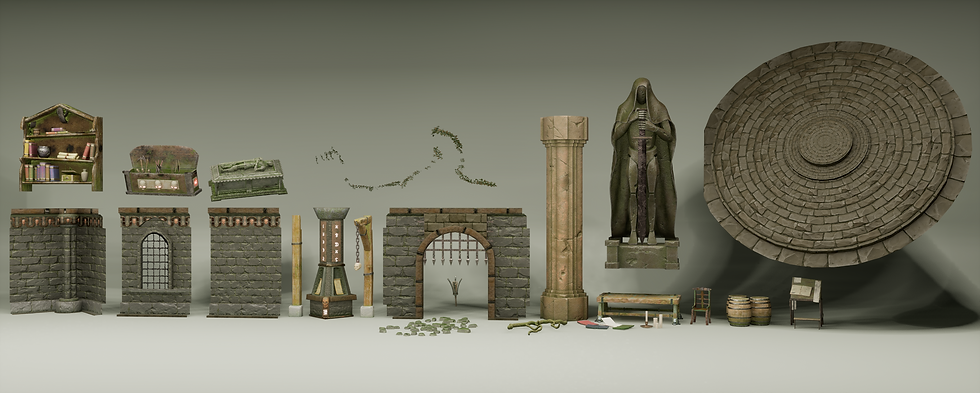
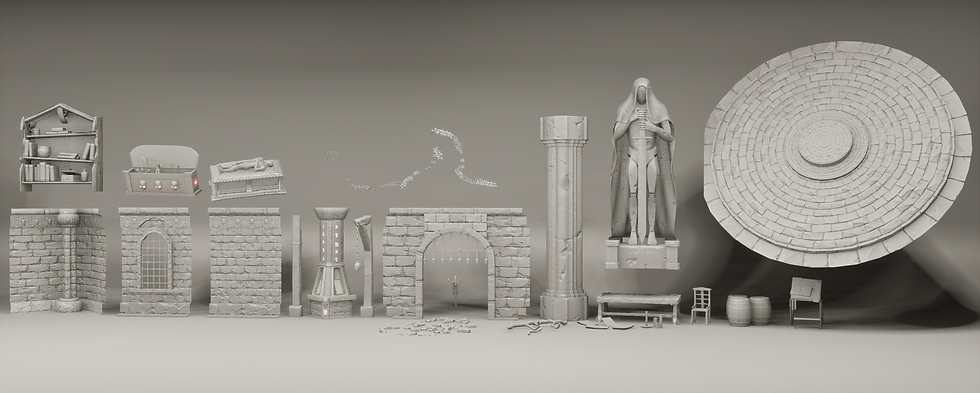
Hopefully here, you can see this idea of "cohesion" that I have been trying to achieve all this time. At first glance, peers have said that it's clear to see that all of these assets "belong together" meaning that my work finally payed off!
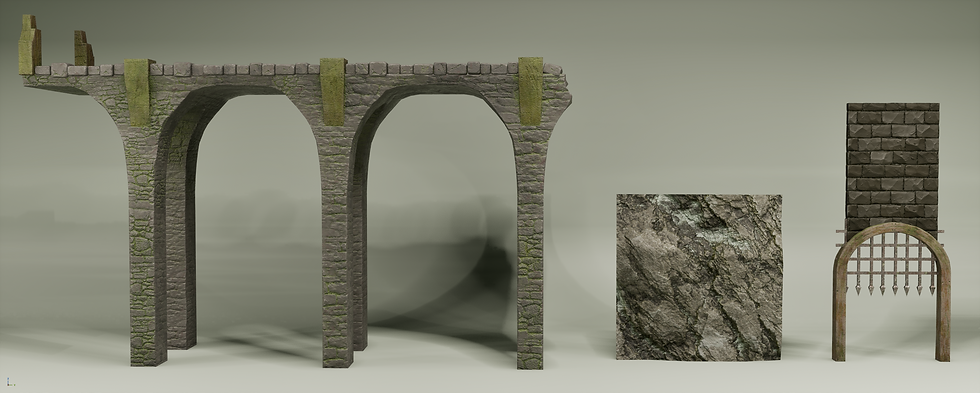
I also had to include my cave entrance though, as a result of the scale, I couldn't afford to fit the bridge and accompanying assets in with everything else, so they got special treatment in the form of their own render.
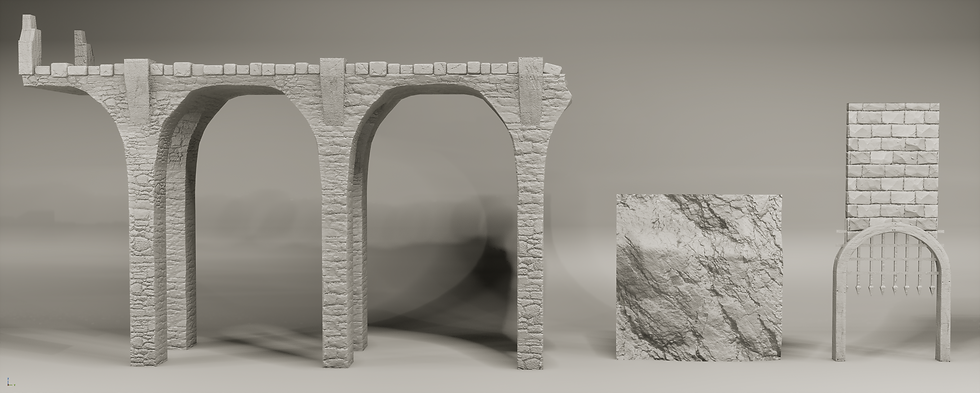
After having completed my main assets, it was time to move on to the finer details, being my materials, trim and decals.
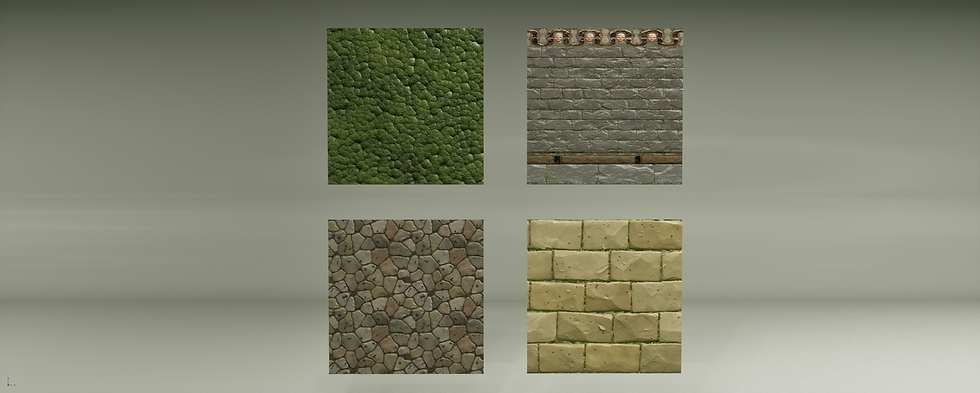

These looked quite nice on planes, as it was (for once) easy to see what they all looked like without any manipulation. However, there as 1 large asset missing...
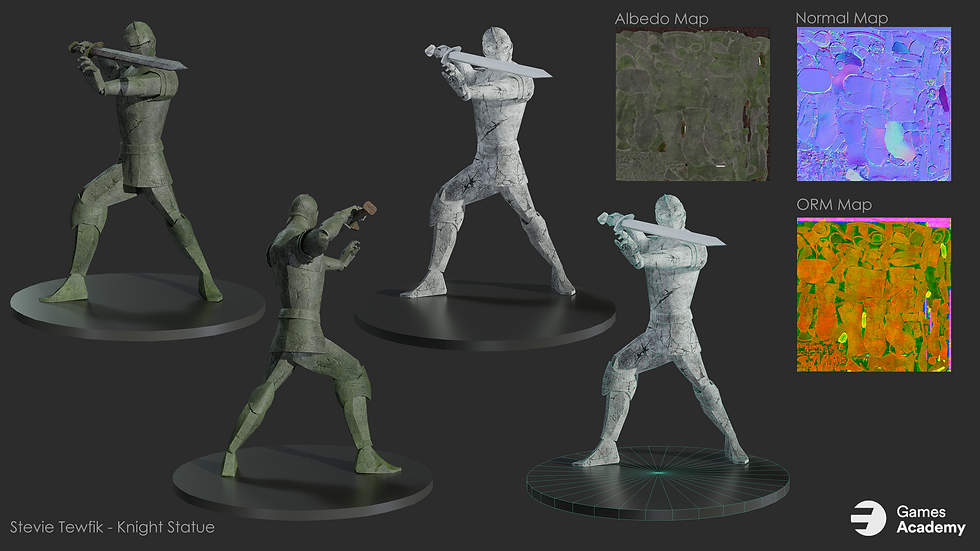
As per the assignment brief, my "knight statue" shrine hero asset deserved it's own presentation, with all of my renders for it being done in Marmoset, where I rebuilt the material and exported different render passes, before arranging them on this fitting presentation sheet.
I often like to include AO and AO+wireframe renders with my assets I'm most proud of, but would love to do this more in the future, as why shouldn't I show off everything I'm proud of..
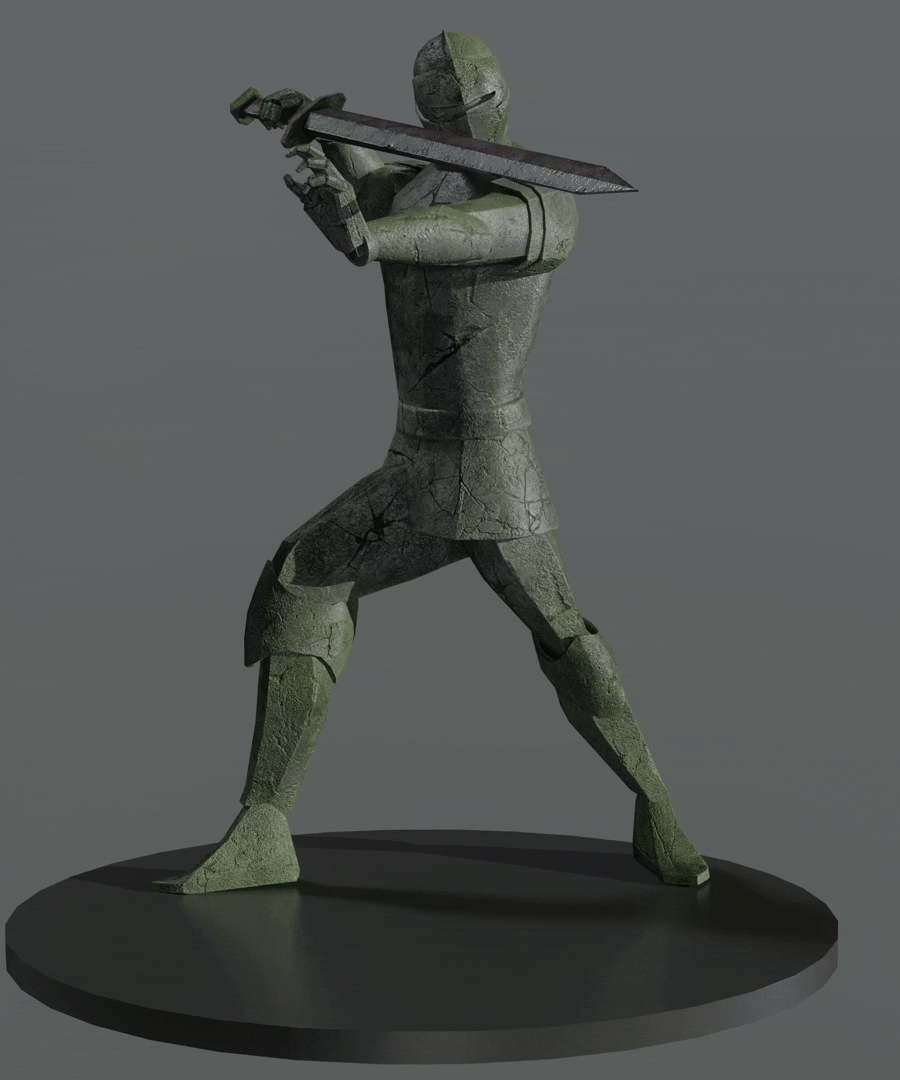
In addition to the stills you can see above, I wanted to really allow people viewing my project to see what my asset looked like from every angle, so I created a turntable render to go along with this presentation sheet.
Finally, to bring this whole, semester-long project to a close, I thought it would be nice to honour the fact that I had made my level fully playable, after having set up collisions and "click ignores" for my assets. I recorded myself walking through, starting from the cave, and ending in the boss fight (I know it's stretched the actual video is 2k 60fps).

And that's the project done, thank you so much for reading this very lengthy, but in-depth blog!
I've had so much fun an learnt an immense amount in a short space of time. Thank you as well to all the people (lecturers or friends) who have helped me complete this project, and I can't wait to expand my knowledge over the summer. I plan to create an environment to enter the Rookies with, learning techniques like master materials, layered material setups, runtime virtual textures, using Unreal's landscape tool, using splines more, making use of Unreal's procedural tree generation tool in V5.7 and so on..
I've had an absolute blast over these last 4 months, and cannot wait to see what is in store for me in 2nd year..


Comments