Week 7: Chaos Cloth, Forces and the Boss Room
- Stevie Tewfik
- May 4
- 5 min read

Updated: May 6
I managed to once again achieve quite a lot this week, as I delved into the mechanics of Unreal's Chaos Cloth system. Again, I was trying to focus on bringing my scene to life, so who doesn't want more moving components?
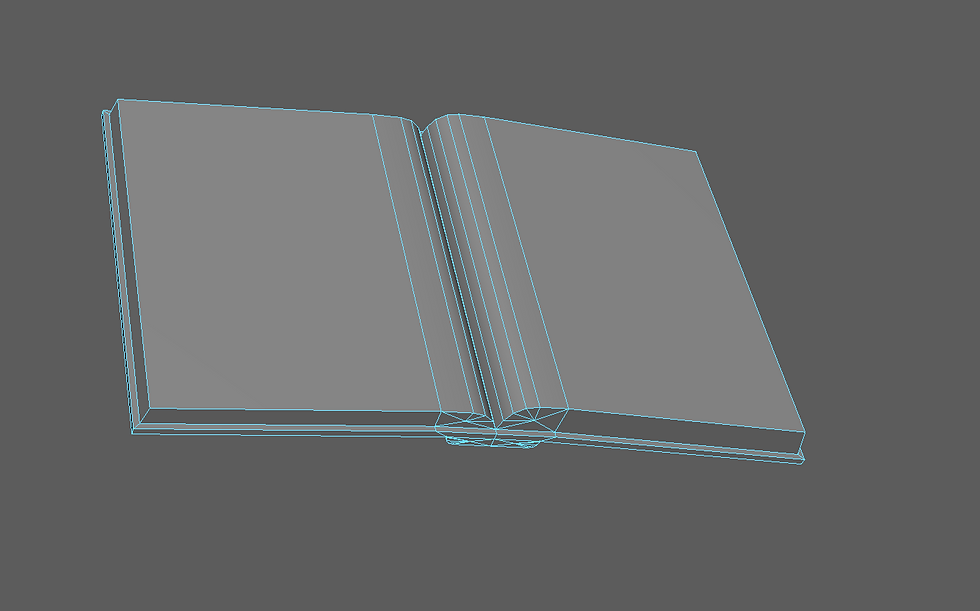
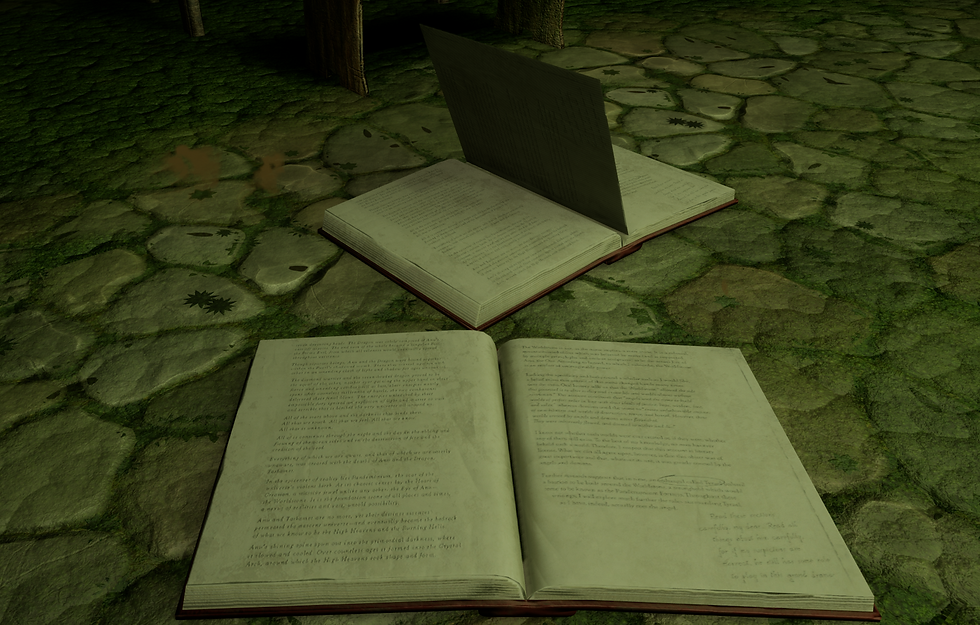
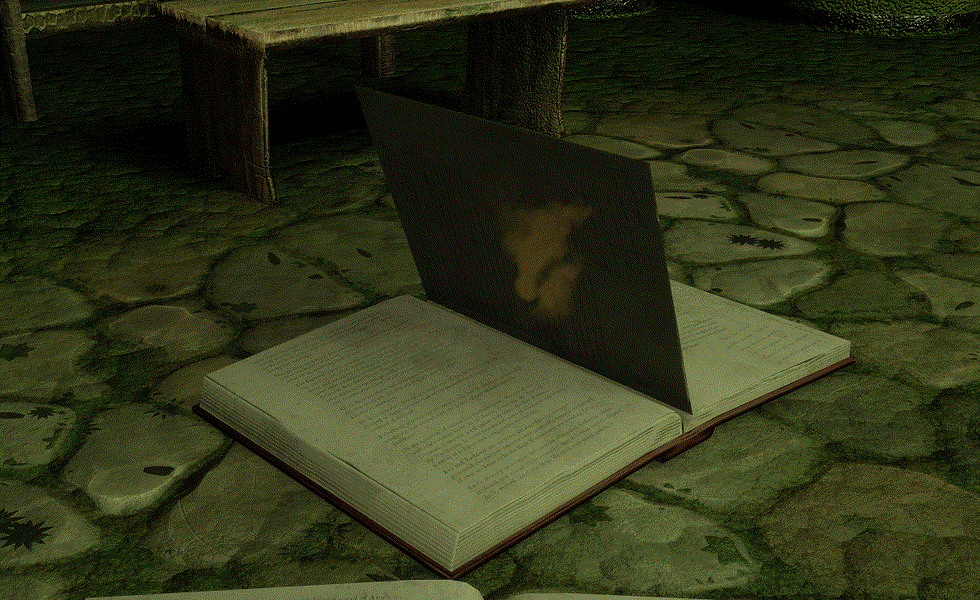
As I mentioned in a previous week, I wanted to expand on the open-book model. I exported this book as its own separate object, and laid it down flat in my scene. I was thinking what could move about this book, and of course it had to be a page.
So I created a simple plane that was the same size as the pages of the model. I aligned it to stack its UVs with the page of the book from the scribe table to keep it relatively optimised.
I wanted the page to gently blow about in the wind, so I researched on Youtube until I found a tutorial for a flag. I began with importing the page as usual, but then instead of dragging it straight into the scene, I created a "skeletal mesh from it" and opened it up in its edit window.
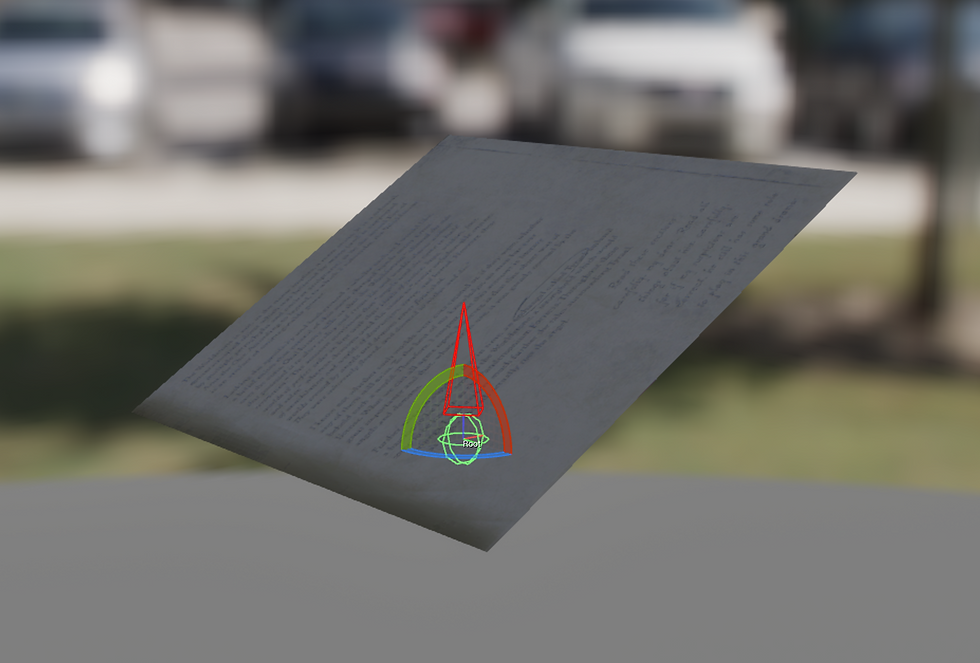
Creating a skeletal mesh gives that static mesh instance a root bone, a very simple form of rigging. From there I was able to create some very basic clothing data from that skeletal mesh. That then allowed me to do something called "cloth painting". This lets me, with an actual brush, choose what sections of the skeletal mesh would be affected by physics.
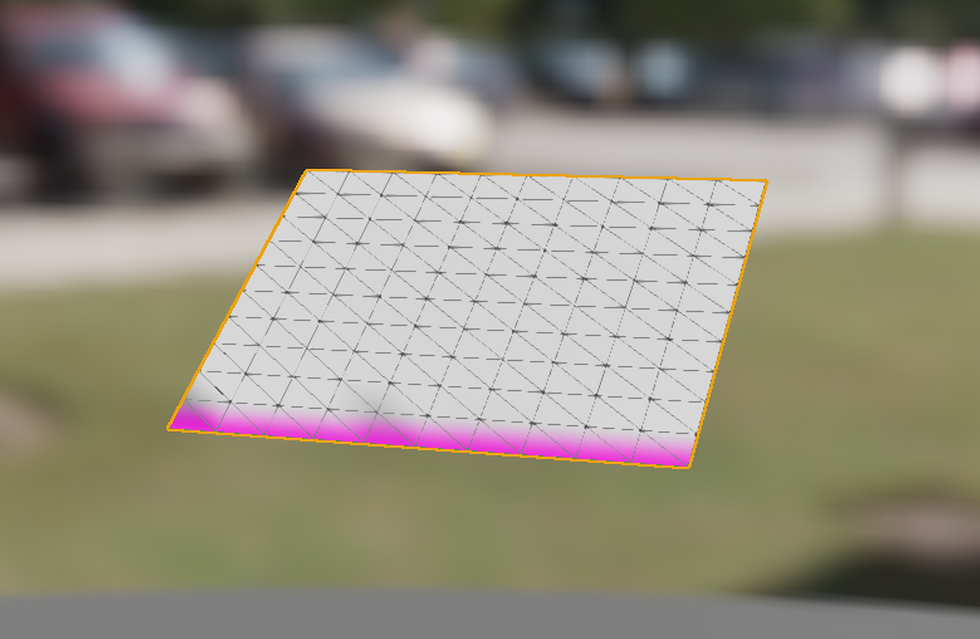
After saving this information, all I had to do was drag the skeletal mesh into my scene, line it up with my book static mesh, and add a "WindDirectionalSource" and crack up the speed and intensity and voila!
I had also been planning on creating some banners ever since the beginning of this project, so this seemed like the perfect moment to. They worked in a similar way, however I had to create a completely new mesh for them, and texture them with more of a hero-asset approach.
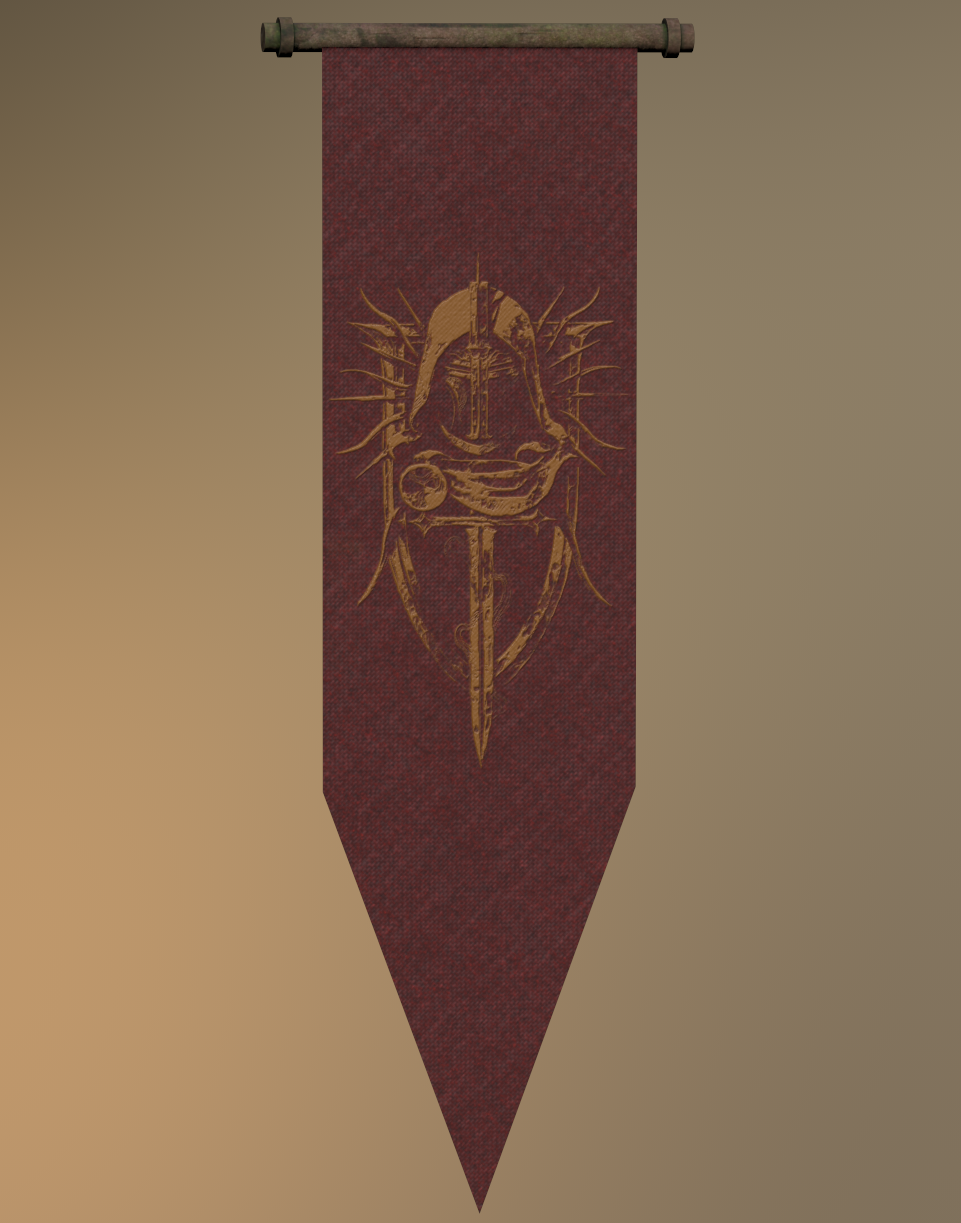
I once again used a plane, and brought it over to Painter. From here I was able to create a simple fabric material, followed by a design on top. Similar to my workflow for the book, I used Painter's projection tool to use an image I found on Google (converted into an alpha) to overlay on top of the base fabric.
I then followed the same process as the book page, however as this wasn't a completely conventional, square plane, I used the "remesh" function from within Unreal Engine, to retopoligse the banner to be used for simulations. Upon running it through my newfound workflow I thought, a massive, heavy banner is going to have completely different attributes in the real world (like its weight, thickness and therefore flexibility) so it will behave differently when simulated.
Therefore I increased it's mass and density, and the results were as I expected; a nice, gently flowing sway in the gentle draft caught in the dungeon.
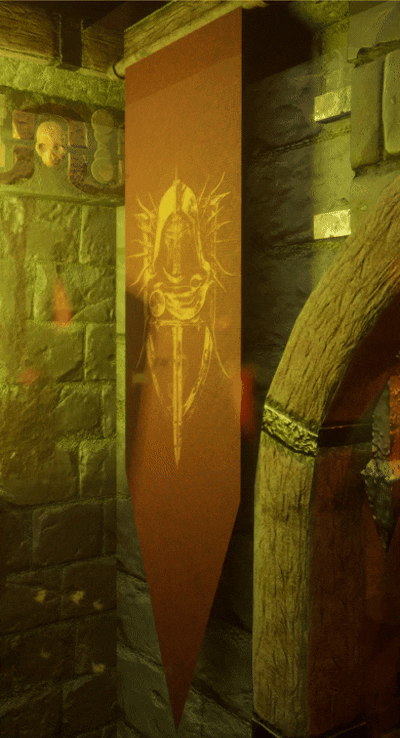
Considering these banners were placed outside the boss room, it made sense to start working on that too. It was very bare, so I thought I should, like I did for the main room, work on the large props to start, and first was the large pillar.
I created a low poly model of course, and stacked the UV shells of the top and bottom sections as they are identical. My main inspiration was a shot from an in-dev content shot from the makings of Diablo IV, as I really liked the "multi-pillar" approach that the artist took.

As you can see on the right, I took a similar approach to them, and coincidentally the actual pillars were at a similar scale in-engine.
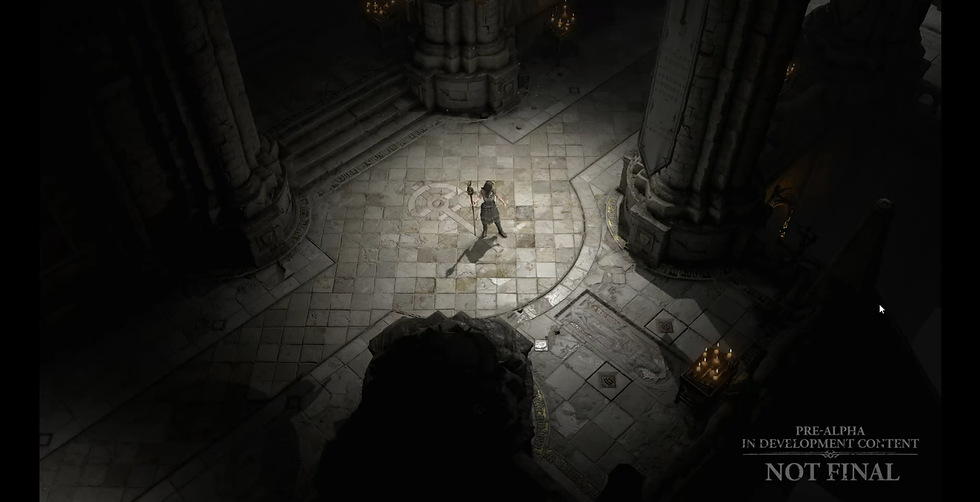
I took the usual hero asset approach, of going through Zbrush before texturing the baked pillar in Painter. I used 1 2048x2048 texture for this asset despite me stacking some UV shells, as it is so physically large.
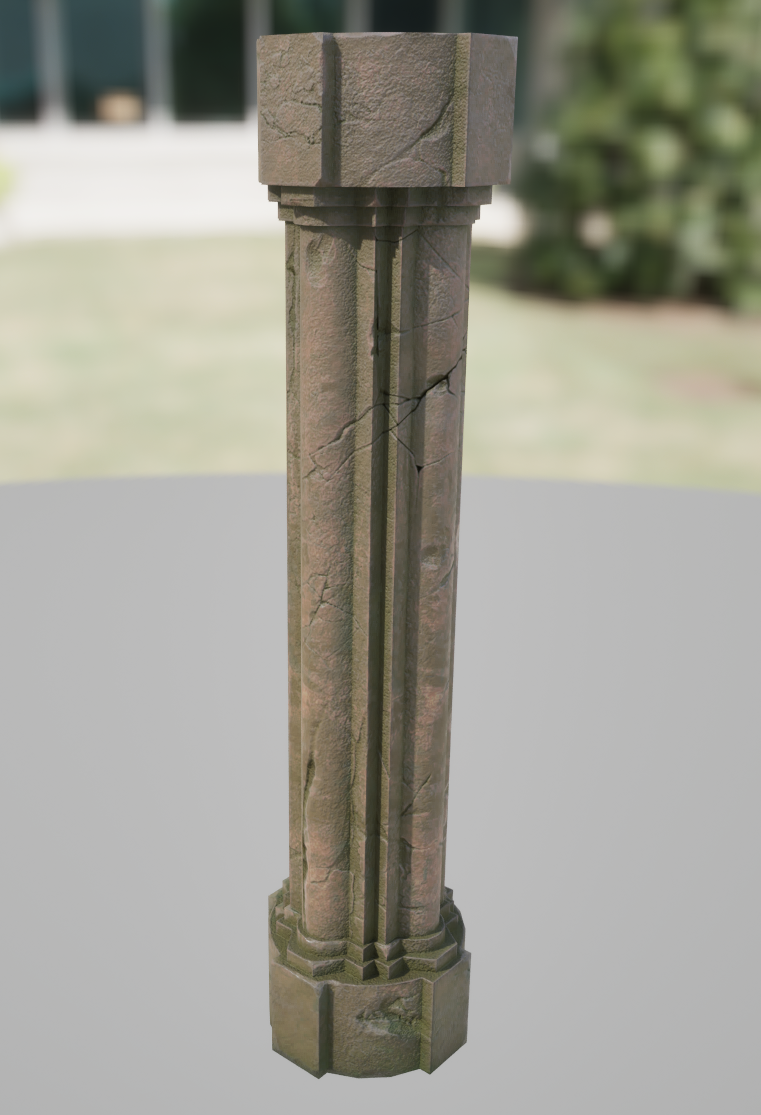
I am happy again with how it looks, so I have placed multiple instances in a circle in my boss room. I once again used my moss material, this time on a much larger scale (unlike my floor which I know I still need to fix). Then, I swiftly moved on to the pillar's counterpart, the statues..
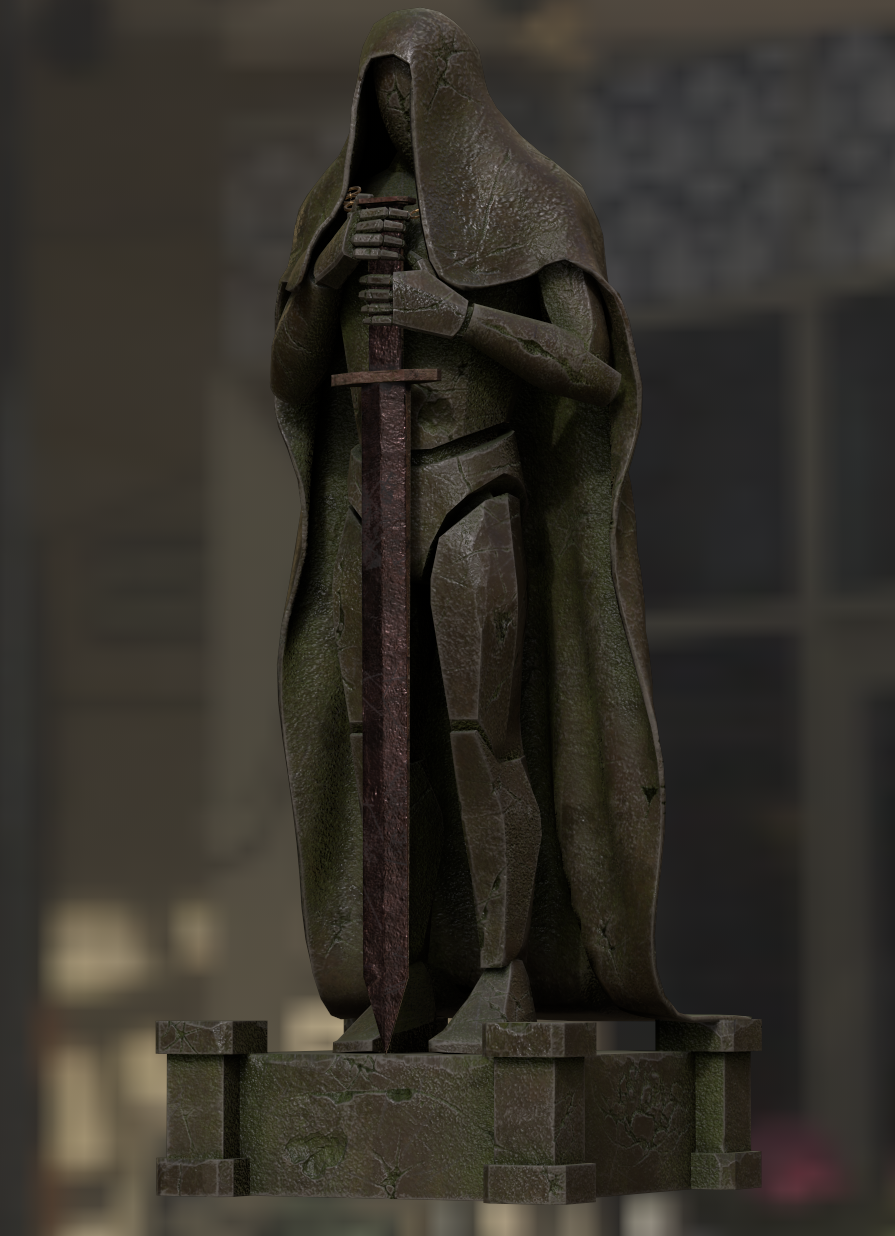
The hooded statues are probably now my favourite asset I've modelled and imported, topping my previous choice of the casket. Their sheer size of them and the level that of detail I have pushed from the bake shocked me to be fair.
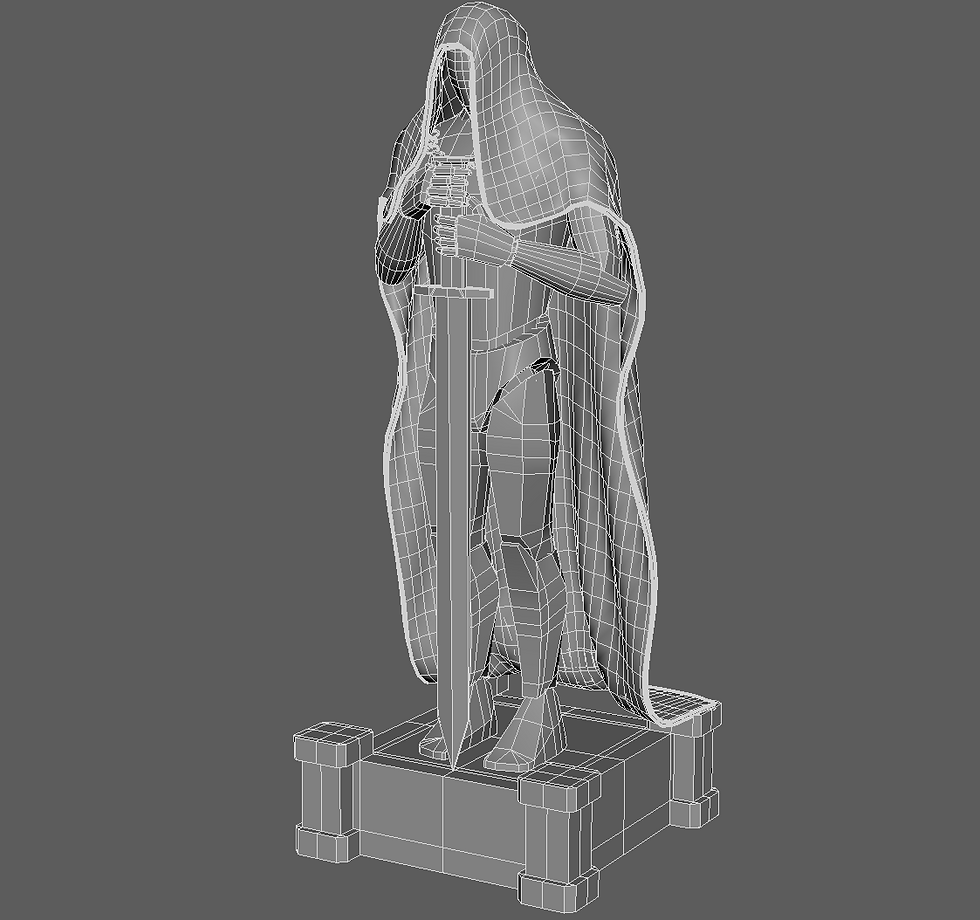
I managed to create the hood/ cloak in ZBrush using a cloth simulation, and the cloth transpose brush whilst masking out certain areas so that it didn't affect them. After bringing it back into Maya I think the end result is pretty convincing.
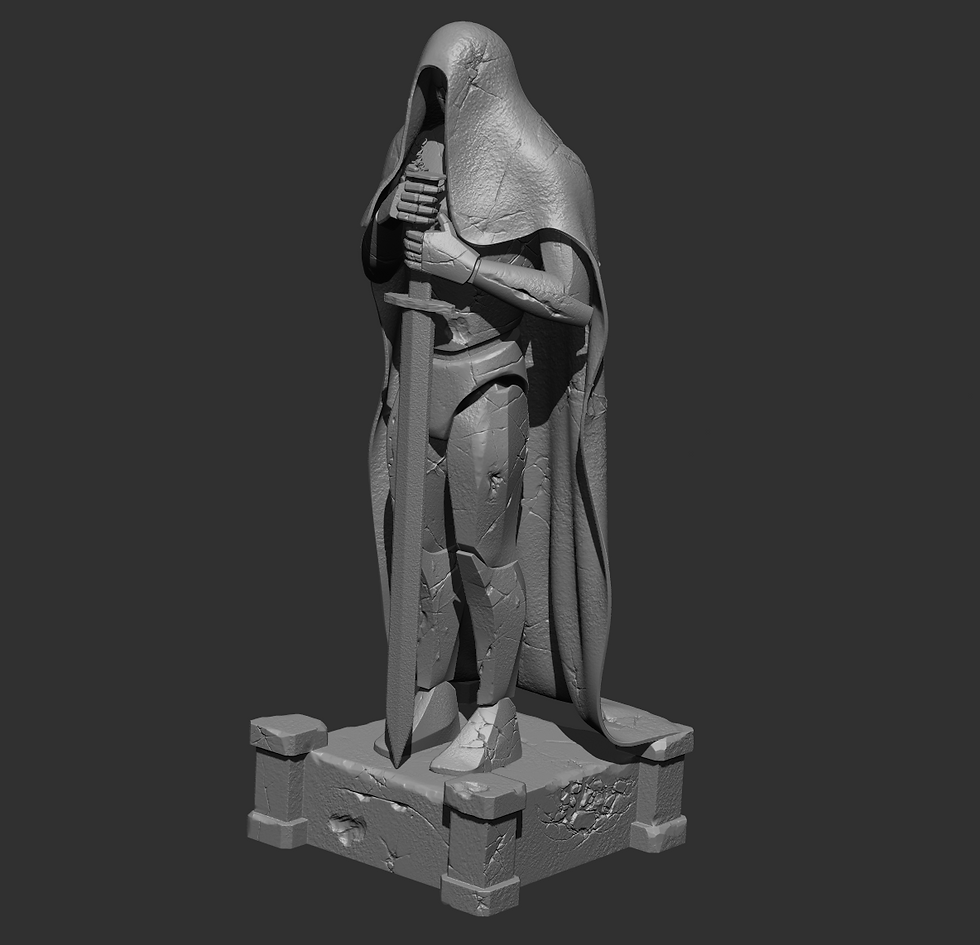
Again, I Paul Tosca's crack alphas to create some of the finer details, and I am pleases that I had enough depth information in my bake to create a good of a result as I wanted. My plan for the boss room is for it to have quite an orange/ green colour scheme, which I aimed to initiate within the Painter file of this asset.
The sword and chain (just above the hands) were technically separate objects within the same fbx, which much more easily allowed me to texture them, considering I didn't want them to be made of the same mossy stone texture.
Lastly, I had to wrap up the boss room to some degree, as currently all I had were some overly-detailed assets in comparison to my empty floor and walls. There was only 1 solution, I had to create the materials for the walls and floors now.
Originally, considering how long I put this off for, I saw the material creation as quite a daunting task, though it wasn't too bad when I realised Substance Designer graphs are completely node-base and procedural. This meant that I was able to go back into my floor cobblestone material and edit it to give it a completely new look.
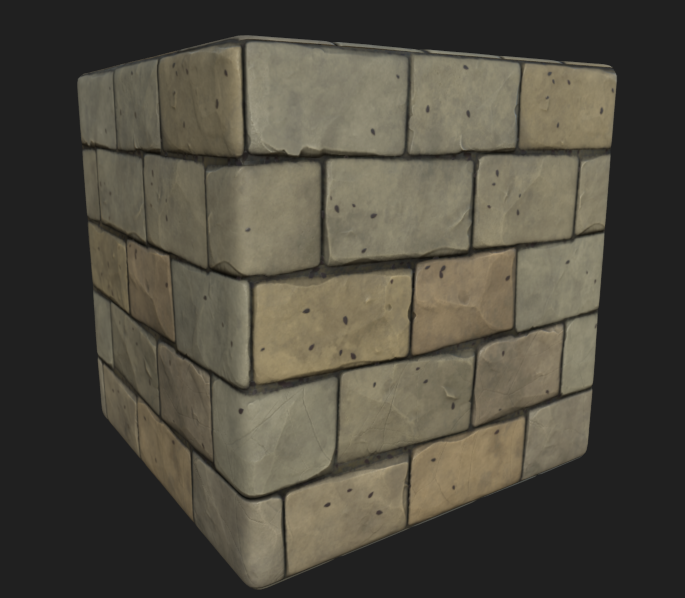
After quite a while tweaking my tile samplers and which leaves were generated, I ended up with this, a "brick-like" material which would be much more suited for my walls, and it was. I added some UV coordinate nodes into the material blueprint (to edit the tiling value) as it was much too large to begin with, and it was perfect.

Bibliography/ External Reading:
_______________
Heavy Light Animations. “How to Use Cloth Simulation in Unreal Engine 5.” YouTube, 23 Oct. 2025, www.youtube.com/watch?v=lKis9iFz7kA.
Displate. “Diablo IV: Crest of the Penitent” Poster, 2026 displate.com/displate/9761498.
Jia, Si. “Geek Interview: Diablo IV Mixes First Open World Mould with Familiar Stylings from Predecessors | Geek Culture.” Geek Culture, 24 Feb. 2021, geekculture.co/geek-interview-diablo-iv-mixes-first-open-world-mould-with-familiar-stylings-from-predecessors/.
Fuchs, Simon. “[ZBRUSH] – Sculpting Damage – Alphas and Brushes.” SimonFuchs, 24 May 2015, simonfuchs.wordpress.com/2015/05/24/zbrush-sculpting-damage-alphas-and-brushes/.


Comments